Introduction to Perfect Homemade Caramels
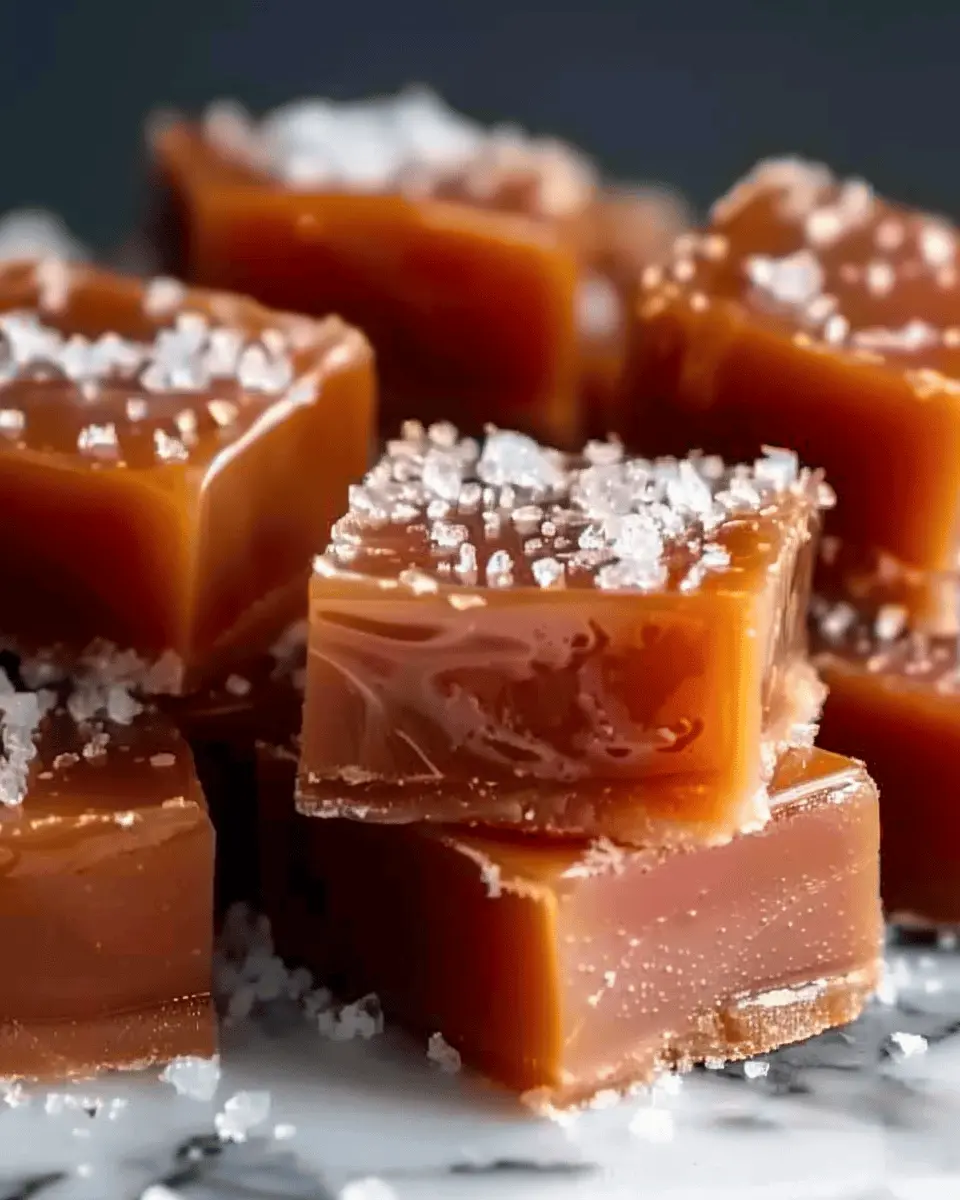
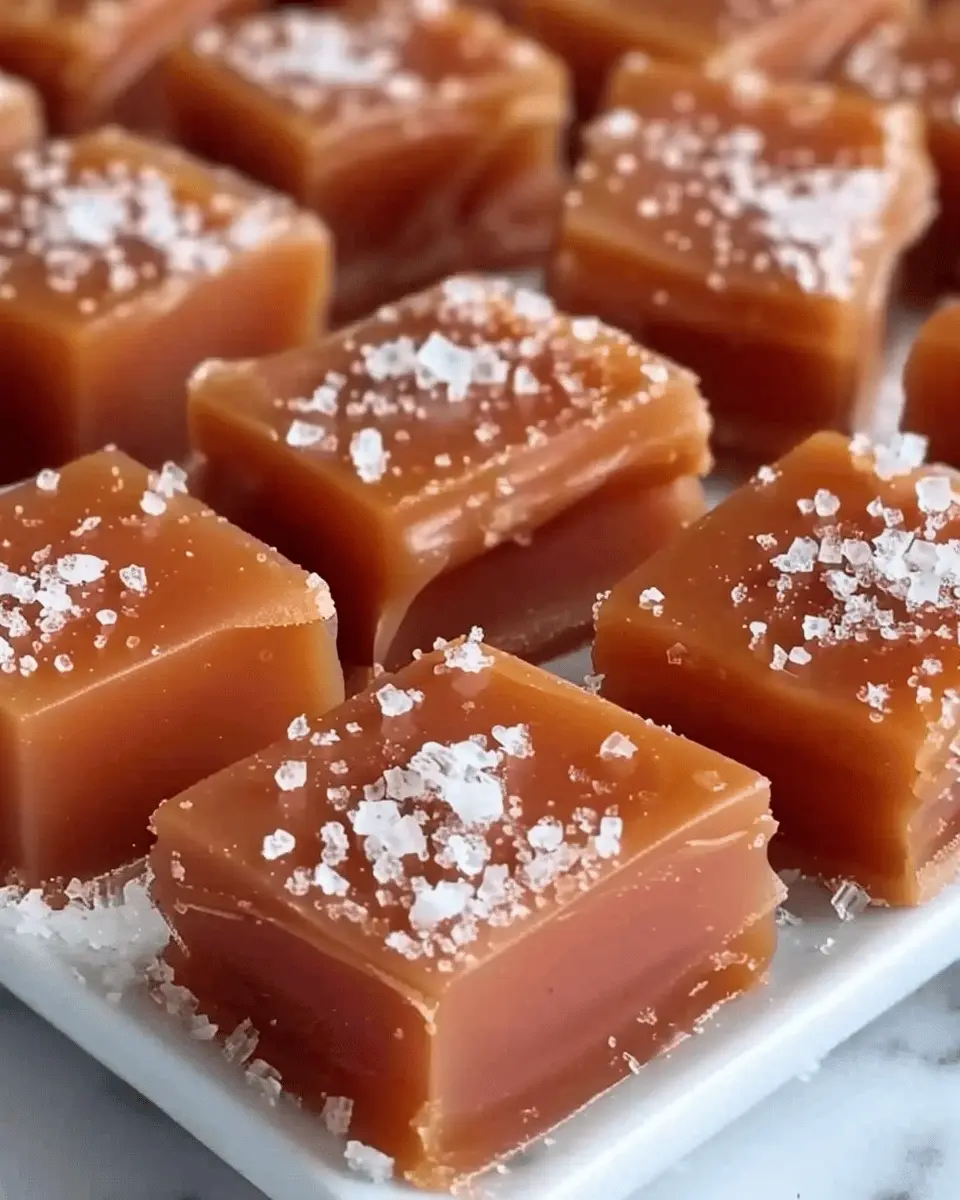
When it comes to indulgent treats, there’s something undeniably special about perfect homemade caramels. Picture this: a chewy, buttery morsel melting in your mouth, releasing a velvety sweetness that makes your taste buds dance with joy. And the best part? You can easily create this delightful confection in your own kitchen!
Why Homemade Caramels?
You might wonder, why bother making caramels at home when you can easily grab a bag from the store? Well, the truth is, homemade perfect caramels offer a unique flavor and texture that store-bought versions can hardly match. Plus, crafting your own caramels gives you complete control over the ingredients—ensuring that you’re using high-quality products without the preservatives or additives often found in commercial confections.
Did you know that many people prefer homemade treats over packaged ones because they tend to be fresher and have a more personalized touch? According to a survey from Pew Research Center, about 75% of home cooks say they enjoy creating meals and treats from scratch, cherishing the process as much as the end result.
Creating perfect homemade caramels isn’t just about the taste—it’s also a rewarding experience. Cooking is a beautiful blend of art and science. As you mix, measure, and watch your sugar transform, there’s an undeniable sense of accomplishment that comes with mastering this classic candy-making skill. And if you throw in a sprinkle of sea salt for that salty twist, you’ll elevate your treat from delightful to absolutely divine.
Throwing a batch of homemade caramels into the mix for a gathering can also be a great conversation starter. Imagine your friends buzzing around the treat table as they eagerly reach for that delectable caramel, intrigued by your ability to whip up something so delicious. Plus, they’ll love you for sharing the recipe!
In this article, we’ll dive into the steps necessary to create your own perfect homemade caramels with that irresistible salty twist, so get your aprons ready!
Ingredients for Perfect Homemade Caramels
Making perfect homemade caramels is simpler than you might think, but it does require a few essential ingredients that work harmoniously to create that melt-in-your-mouth texture. Here’s what you’ll need:
- Granulated Sugar: The star of the show! Look for high-quality, fine sugar that dissolves easily for smooth caramel.
- Unsalted Butter: A crucial component that adds richness and creaminess. Don’t skimp on the good stuff.
- Heavy Cream: This brings in that delightful creaminess and contributes to the soft texture. You can substitute with milk for a lighter version, but the results will differ.
- Light Corn Syrup: Essential for preventing crystallization, making your caramels consistently silky.
- Sea Salt: A pinch of flaky sea salt elevates your caramels to new heights, adding that perfect salty twist.
You can grab these ingredients from your local grocery store or even explore organic options from stores like Whole Foods or Trader Joe’s. With the right components, you’re well on your way to creating the most sensational homemade caramels that you’ll be proud to share or indulge in yourself. Have you ever tried adding unique flavors like vanilla or orange zest? It’s a game-changer!
Preparing Perfect Homemade Caramels
Making your own perfect homemade caramels is an exciting culinary adventure that yields mouthwatering rewards. With the right ingredients and steps, you’ll find this process both enjoyable and satisfying. Let’s dive into the steps!
Gather Your Ingredients
Before you begin your caramel-making journey, it’s essential to gather all your ingredients. Here’s what you’ll need:
- Granulated sugar
- Light corn syrup
- Unsalted butter
- Heavy cream
- Pure vanilla extract
- Flaky sea salt for that delightful salty twist
Having everything ready ensures a smooth cooking process. Pro-tip: use high-quality butter and vanilla extract to elevate the flavor of your caramels. Trust me, your taste buds will thank you!
Line Your Baking Pan
Preparation is key in caramel-making. Start by lining an 8×8-inch baking pan with parchment paper. This step helps to prevent the caramel from sticking, making it easy to remove once it’s set. If you’re feeling adventurous, consider using a silicone baking pan; it can make the caramel removal even easier. Just remember to leave some overhang on the sides of the parchment paper for easy lifting later!
Combine Sugar, Corn Syrup, and Butter
In a medium saucepan, combine 1 cup of granulated sugar, 1/4 cup of light corn syrup, and 1/4 cup of unsalted butter over medium heat. Stir the mixture gently until the butter melts and the sugar begins to dissolve. Be patient! This critical initial step is where your caramels start to come to life. As you stir, you might notice the transformation of the mixture from granulated to a lovely syrupy blend.
Add the Heavy Cream
Once your sugar mixture is bubbling (and smells amazing!), it’s time to carefully add 1 cup of heavy cream. Be cautious: the mixture will bubble up vigorously at first. This is totally normal! Reduce the heat to medium-low and stir until smooth. This combination is what gives your perfect homemade caramels that luscious, creamy texture.
Monitor the Temperature
Now comes the most crucial part: monitoring the temperature. Use a candy thermometer, and heat the mixture until it reaches around 245°F (118°C), known as the firm ball stage. This temperature ensures that your caramels achieve the right consistency — not too soft, and not too hard. If you don’t have a candy thermometer, just remember: patience is key.
Add Vanilla and Pour into the Pan
Once you’ve reached the desired temperature, remove the pan from heat. Stir in 1 teaspoon of pure vanilla extract for that depth of flavor. Give it a gentle mix, then pour the hot mixture into your prepared baking pan. Resist the temptation to lick the spoon! Letting it cool on the counter is hard, but it’s necessary to achieve that perfect texture.
Sprinkle with Flaky Sea Salt
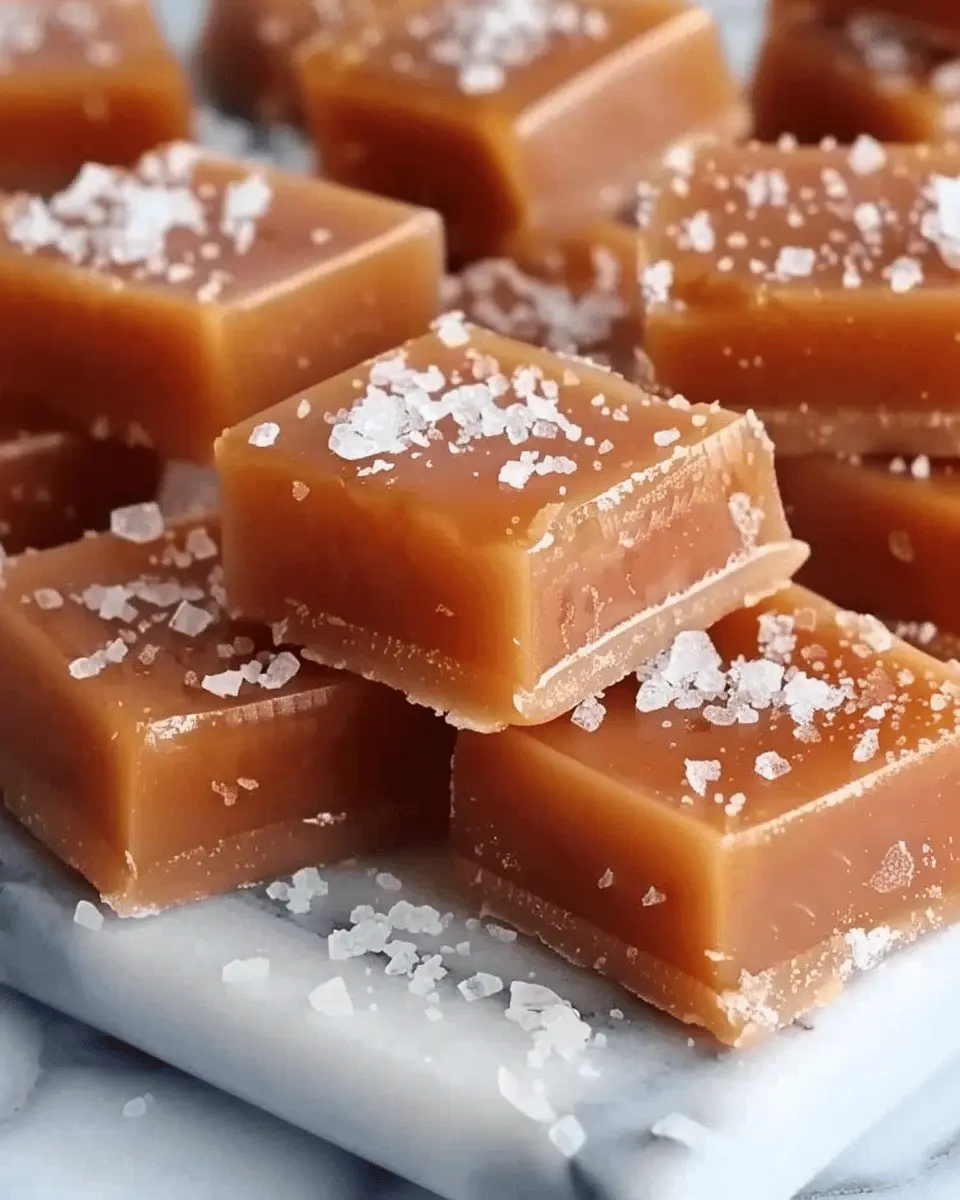
As your caramels cool, sprinkle a generous amount of flaky sea salt on top. This added touch enhances the sweet flavor, making each bite a delicious contrast between sweet and salty. If you’re feeling extra creative, try flavoring your salt with spices or herbs beforehand!
Let It Set
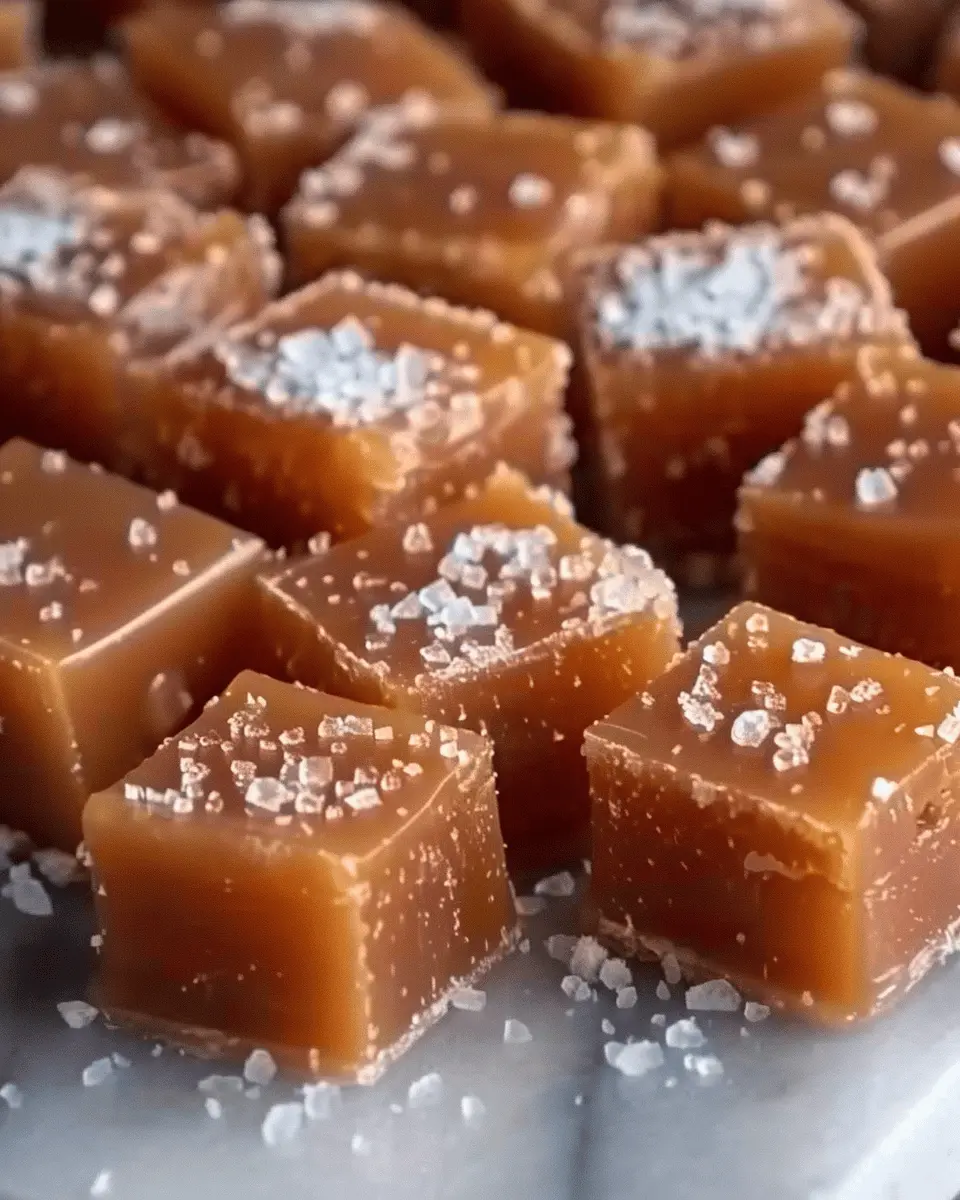
Allow the caramel to cool completely on the counter for at least 2-3 hours. Once set, use the parchment overhang to lift the caramels out of the pan. Cut them into small squares, and voilà! You’ve just made your own perfect homemade caramels.
Remember, homemade caramels make for fantastic gifts during the holiday season or as sweet treats for a gathering. For more delicious variations and candy-making tips, check out sources like the Food Network or Serious Eats. Happy caramel-making!
Variations on Perfect Homemade Caramels
Making perfect homemade caramels opens the door to a variety of delicious twists. Whether you’re looking to impress at a party or treat yourself after a long day, these variations will add a unique flair.
Classic Caramels
Sometimes, simplicity reigns supreme. The classic version of perfect homemade caramels features only a few ingredients: sugar, butter, cream, and a pinch of salt. The result? A silky, buttery treat that melts in your mouth. To enhance the flavor, consider adding a splash of vanilla or cinnamon during the cooking process. This timeless treat is a great way to enjoy the unadulterated goodness of homemade caramels.
Chocolate-Covered Caramels
For a decadent twist, why not dip those perfect homemade caramels in chocolate? After letting your caramels cool and set, melt some high-quality chocolate and coat each piece. You can use dark, milk, or even white chocolate for added sweetness. For an extra treat, sprinkle some sea salt on top before the chocolate hardens—it’s a delightful contrast! This variation is perfect for gift-giving or as a sweet indulgence.
Nutty Caramels
If you love crunch and flavor, nutty caramels are the way to go. Simply fold in a handful of your favorite nuts—like almonds, pecans, or walnuts—into the caramel just before pouring it into the pan. Not only do they add a delightful texture, but they also enhance the caramel’s rich flavor. Imagine savouring that satisfying crunch along with the chewy sweetness; it’s truly irresistible!
Whether you choose to stick with the classic or get creative with chocolate and nuts, these variations will elevate your perfect homemade caramels to new heights. For more caramel tips and ideas, visit renowned culinary sites like Food Network or Serious Eats. Happy caramel-making!
Cooking Tips and Notes for Perfect Homemade Caramels
Make sure to use a candy thermometer
To achieve perfect homemade caramels, you absolutely need a candy thermometer. This trusty gadget ensures that your caramel reaches the ideal temperature of about 245°F (the soft ball stage). If you’re serious about caramel-making, investing in a good one is well worth it! You can find excellent options at culinary stores or online; just check out Cooks Illustrated for recommendations.
Stir constantly to avoid burning
When you’re cooking the sugar mixture, stir constantly. This action helps distribute the heat evenly, preventing any hotspots that might scorch your caramel. Use a sturdy spatula and make sure to scrape the edges of the pot as you go. Trust me, burning caramel is a heartbreak you want to avoid!
Let cool completely before cutting
Once your caramel reaches the right temperature, pour it into a prepared pan and let it cool completely before attempting to cut it. This step might seem like a small detail, but it makes all the difference in achieving that lovely chewy texture. Instead of diving right in, take a breather and let the magic happen!
Serving Suggestions for Perfect Homemade Caramels
Gifting Ideas
Looking for a sweet way to brighten someone’s day? Perfect homemade caramels make delightful gifts! Wrap them in cheerful parchment paper or place them in decorative tins. Consider adding a personalized touch by including a handwritten note or a recipe card. They are especially appreciated during the holidays, but you can give them any time you want to show someone you care.
Adding to Dessert Tables
Elevate your dessert table by featuring your perfect homemade caramels as a standout treat. Try arranging them on a rustic wooden platter, alongside an assortment of desserts like brownies, cookies, and mini cheesecakes. Sprinkle some sea salt over the caramels for extra flair—visually and taste-wise!
Pairing with Coffee or Tea
Indulging in a cup of coffee or tea? Perfect homemade caramels can elevate your sipping experience! The rich, buttery flavor complements the bitterness of coffee beautifully, while a cup of herbal tea pairs wonderfully, providing warmth and a hint of sweetness. Consider offering them as a sweet option at your next brunch or afternoon tea gathering—your guests will be delighted!
For more insight on pairing flavors, check out resources like the Specialty Coffee Association which offers great tips on coffee pairings and enhancing your tasting experiences.
Time Breakdown for Perfect Homemade Caramels
Preparation Time
Making perfect homemade caramels starts with a bit of prep. Generally, you’ll want to spend about 15 minutes gathering all your ingredients and essentials. Make sure your butter, cream, and sea salt are within reach, so you can whip up this sweet treat effortlessly.
Cooking Time
The magic happens during 30–45 minutes of cooking time. You’ll need to keep a careful watch over the sugar mixture, stirring to achieve that coveted rich, golden color. Trust me, this step is crucial for your caramels to reach perfection.
Total Time
In total, you’re looking at approximately 1 hour from start to finish. This includes prep and cooking. Once you’ve poured the caramel mixture into a prepared pan, don’t forget to let it set for at least a couple of hours before slicing. That’s the hardest part—waiting! But the payoff is worth it.
For additional tips on caramel techniques, check out Serious Eats for expert advice!
Nutritional Facts for Perfect Homemade Caramels
When whipping up your perfect homemade caramels, understanding the nutritional profile is essential. These chewy delights are a guilty pleasure but can be enjoyed in moderation.
Calories
Each caramel contains approximately 50 calories. While that might seem indulgent, remember that these treats can satisfy a sweet craving without overdoing it.
Sugar Content
Packed with about 10 grams of sugar per piece, they deliver the sweetness you crave. If you’re looking to reduce sugar, consider experimenting with alternative sweeteners, but keep in mind the impact on flavor and texture.
Suggested Serving Size
A good rule of thumb is to enjoy 1 or 2 caramels at a time. They make a lovely treat during a coffee break or as a quick pick-me-up after lunch.
For more information on sugar intake, check resources like the American Heart Association. Balancing enjoyment with mindful eating is key to savoring your perfect homemade caramels!
FAQs about Perfect Homemade Caramels
How do I know if my caramels are done?
Determining the perfect doneness for your homemade caramels can be tricky. The best method is to use a candy thermometer. Aim for a temperature of about 245°F to 250°F (soft ball stage). If you don’t have a thermometer, you can perform the cold water test: drop a small amount of caramel into a glass of cold water. If it forms a soft, pliable ball, you’re right on target!
Can I make caramels without corn syrup?
Absolutely! You can create perfect homemade caramels without corn syrup. Many substitutes work well, like using honey or a combination of sugar and water. Just keep in mind that the texture and color might vary slightly, but they will still taste delicious.
How should I store my homemade caramels?
To keep your homemade caramels fresh, wrap each piece in parchment paper or wax paper and store them in an airtight container. They can be kept at room temperature for up to two weeks or in the fridge for a longer shelf life. Not sure what to do with extra caramels? Consider gifting them—everyone loves a sweet surprise!
What if my caramels are too hard or too soft?
If your caramels turn out too hard, they may have been cooked for too long. You can soften them by microwaving the caramels for a few seconds until they become more pliable. On the flip side, if they are too soft, they might not have reached the right temperature. Don’t fret! You can reheat the mixture gently on low and cook it a bit longer, checking with your thermometer once more.
Making perfect homemade caramels is all about practice! For more tips, check out Serious Eats on candy-making. Happy caramel making!
Conclusion on Perfect Homemade Caramels
Creating your own perfect homemade caramels is a delightful way to impress friends and indulge your sweet tooth. As you experiment with this recipe, remember that patience is key; achieving that smooth, creamy texture requires a steady hand. Don’t hesitate to adjust the saltiness to match your taste—maybe even try pairing with a savory treat like Turkey Bacon for a unique twist!
The next time you crave a sweet treat, why not whip up a batch? Homemade caramels are not just a fantastic snack; they also make for thoughtful gifts. Don’t forget to check out resources like Serious Eats for more candy-making tips and tricks!
PrintPerfect Homemade Caramels Recipe with a Salty Twist for Sweet Bliss
A delightful recipe for making homemade caramels with a hint of salt for an extra flavor twist.
- Prep Time: 15 minutes
- Cook Time: 30 minutes
- Total Time: 45 minutes
- Yield: 20 caramels 1x
- Category: Dessert
- Method: Stovetop
- Cuisine: American
- Diet: Vegetarian
Ingredients
- 2 cups granulated sugar
- 1 cup heavy cream
- 1/2 cup unsalted butter
- 1/4 cup light corn syrup
- 1 teaspoon sea salt
- 1 teaspoon vanilla extract
Instructions
- In a medium saucepan over medium heat, combine sugar, corn syrup, and butter.
- Stir continuously until the mixture melts and turns a golden color.
- Slowly add heavy cream while stirring, then bring to a boil.
- Continue boiling until the mixture reaches 245°F on a candy thermometer.
- Remove from heat and stir in vanilla extract and sea salt.
- Pour the caramel into a greased baking dish and let it cool completely before cutting.
Notes
- For a more pronounced salty flavor, sprinkle additional sea salt on top before it cools.
- Cut caramels into squares for easy serving.
Nutrition
- Serving Size: 1 caramel
- Calories: 70
- Sugar: 10g
- Sodium: 50mg
- Fat: 3g
- Saturated Fat: 2g
- Unsaturated Fat: 1g
- Trans Fat: 0g
- Carbohydrates: 10g
- Fiber: 0g
- Protein: 0g
- Cholesterol: 15mg
Keywords: caramels, homemade, recipe, salty, sweets