
Introduction to Homemade Hard Candy
Why Make Homemade Hard Candy?
Have you ever found yourself enjoying a piece of candy and wishing you could recreate that delightful taste at home? Making your own homemade hard candy is not only simpler than you might think, but it’s also incredibly satisfying. You can customize flavors, colors, and shapes to fit any occasion, whether you’re entertaining guests or fulfilling a sweet tooth craving.
Plus, consider this: commercially made candies often come with a long list of ingredients that can be difficult to pronounce. When you make your own, you know exactly what goes in, allowing you to avoid unnecessary additives and focus purely on delicious flavors. With just a few basic ingredients, you can create something truly special.
The Nostalgia of Homemade Treats
Remember the warmth of your childhood kitchen, filled with enticing aromas of freshly baked goods or simmering treats? Homemade candies can transport you back to those sweet memories. Crafting homemade hard candy can be an enjoyable activity for friends and family, making it a great reason to gather together.
Sharing these treats with loved ones can also spark conversations and create new memories. Who doesn’t love swapping stories about family recipes or comparing flavors? If you’re interested in more about the nostalgic aspects of cooking, check out this article.
Benefits of Cooking at Home
Cooking at home comes with a plethora of benefits beyond just the joy of making candy. For starters, it’s often healthier and more cost-effective than buying store-bought options. According to the USDA, home-cooked meals can be up to 50% cheaper than dining out or buying pre-packaged foods.
Moreover, creating your own treats allows for creativity and experimentation. Want a hint of tropical coconut or a zing of citrus lemon? It’s all possible! Plus, when you tackle a homemade hard candy recipe, you may surprise yourself with your skills and newfound culinary confidence.
In conclusion, whether you’re looking to relive fond memories, create healthy alternatives, or just try something new, making your own hard candy is a delightful adventure worth embarking on. Stay tuned for the full homemade hard candy recipe to sweeten your cooking journey!
Ingredients for Homemade Hard Candy
Essential ingredients for the candy base
Crafting your own homemade hard candy is simpler than you might think! To kick off this sweet adventure, you’ll need a few essential ingredients for the candy base:
- Granulated Sugar: The star ingredient, this is what gives your candy its sweetness and structure.
- Corn Syrup: Helps prevent crystallization, ensuring a smooth texture.
- Water: Dissolves the sugar and corn syrup to create your candy mixture.
- Food Thermometer: While not an ingredient, this tool is crucial for monitoring the right temp.
Optional ingredients for flavor and color
What’s hard candy without a burst of flavor? Customize your sweets with these optional ingredients:
- Flavor Extracts: Think classic options like peppermint, lemon, or cherry.
- Food Coloring: A few drops can turn your candy vibrant—perfect for holiday treats or fun gifts.
- Citric Acid: For that tangy kick, add a pinch to elevate your candy’s flavor profile.
Want even more inspiration? Check out this guide from the National Confectioners Association to dive deeper into candy crafting! With these ingredients in hand, you’re well on your way to creating delightful homemade hard candy that impresses friends and family alike. So, ready to melt some sugar?
Step-by-step Preparation of Homemade Hard Candy
Making homemade hard candy is a fun and rewarding kitchen project that not only satisfies your sweet tooth but also impresses friends and family. Follow these simple steps to create your own beautifully crafted candy.
Create the Perfect Workspace
Before you dive into candy-making, it’s essential to prepare your workspace. Begin by cleaning your kitchen counter and gathering all the necessary tools and ingredients.
You’ll need:
- Candy thermometer
- Heavy-bottomed saucepan
- Silicone spatula
- Candy molds or a baking sheet
- Measuring cups and spoons
Ensure that you have a safe space to work as hot sugar can be hazardous. Why not put on an apron to protect your clothing? Having everything organized will help the process go smoothly and make it more enjoyable!
Combine Your Candy Base Ingredients
For a basic homemade hard candy recipe, you’ll need just a few core ingredients: granulated sugar, corn syrup, and water. Measure them out as follows:
- 2 cups of granulated sugar
- 2/3 cup of corn syrup
- 1 cup of water
In your saucepan, combine these ingredients. This is where the fun begins as you’ll soon see basic elements transform into delicious candy!
Dissolve Sugar Crystals for a Smooth Texture
With your ingredients in the pan, it’s crucial to heat them slowly to dissolve the sugar effectively. Use a medium heat setting and stir gently with your spatula until all sugar is dissolved. This step is vital for achieving a smooth texture in your hard candy. Once dissolved, stop stirring to prevent crystal formation.
Cook Syrup to the Hard-Crack Stage
Now comes the exciting part—bringing your syrup to the hard-crack stage! Turn up the heat to high and let the mixture boil without stirring. Attach your candy thermometer to the side of the pan, ensuring the tip doesn’t touch the bottom. Keep an eye on the temperature; you’re aiming for about 300°F (149°C).
This stage is important because it determines how hard and crunchy your candy will be. Once it reaches the desired temperature, remove it from the heat immediately.
Add Flavors and Colors
Before pouring your candy into molds, it’s time to add your chosen flavors and colors. You can use flavoring oils, extracts, or food-safe colorants to personalize your candy. A few drops of peppermint extract or lemon flavor can elevate your candy to a whole new level! Stir gently to evenly distribute.
Pour Candy into the Mold
Next, carefully pour your hot candy mixture into molds. If you prefer a more rustic look, you can pour the syrup onto a parchment-lined baking sheet. Act quickly, as the syrup will start to harden as it cools!
Coat and Cool the Candy
Let your candy cool at room temperature for a few hours. If using molds, you can gently remove the candies after about 30-60 minutes once they feel firm to the touch.
To avoid them sticking together, dust your candies with a little powdered sugar or cornstarch before storing. This is a tip I learned from years of candy-making—trust me, it works!
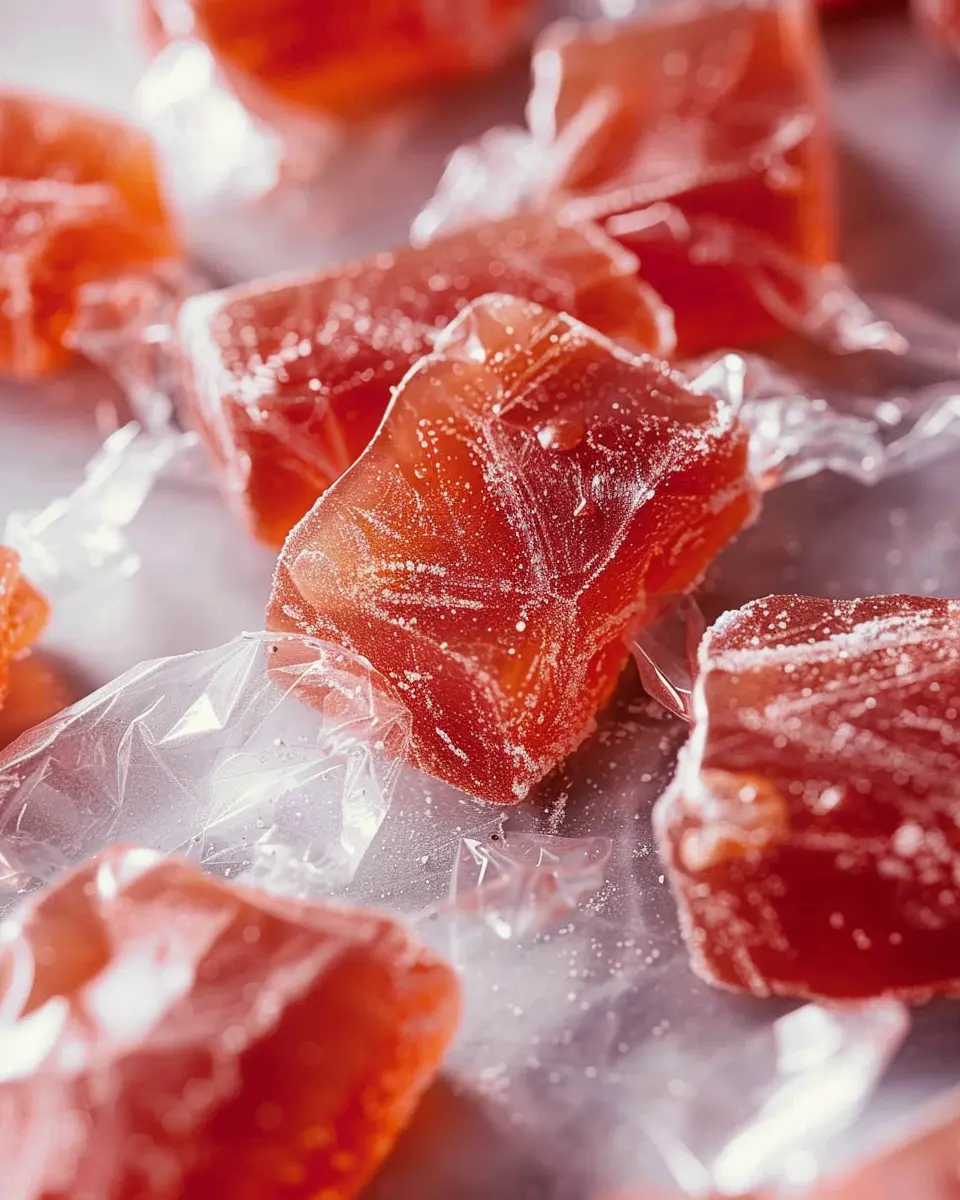
Cut and Store Your Candy
If you poured your candy onto a sheet, use a sharp knife to cut it into pieces after it has fully cooled. Store your homemade candies in an airtight container to maintain their freshness.
Experiment with flavors and different mold shapes next time! The joy of a homemade hard candy recipe lies in customization and creativity.
If you want to take your candy-making to the next level, consider checking out resources on candy science, like Serious Eats or Food Network for more inspiration. Happy candy-making!
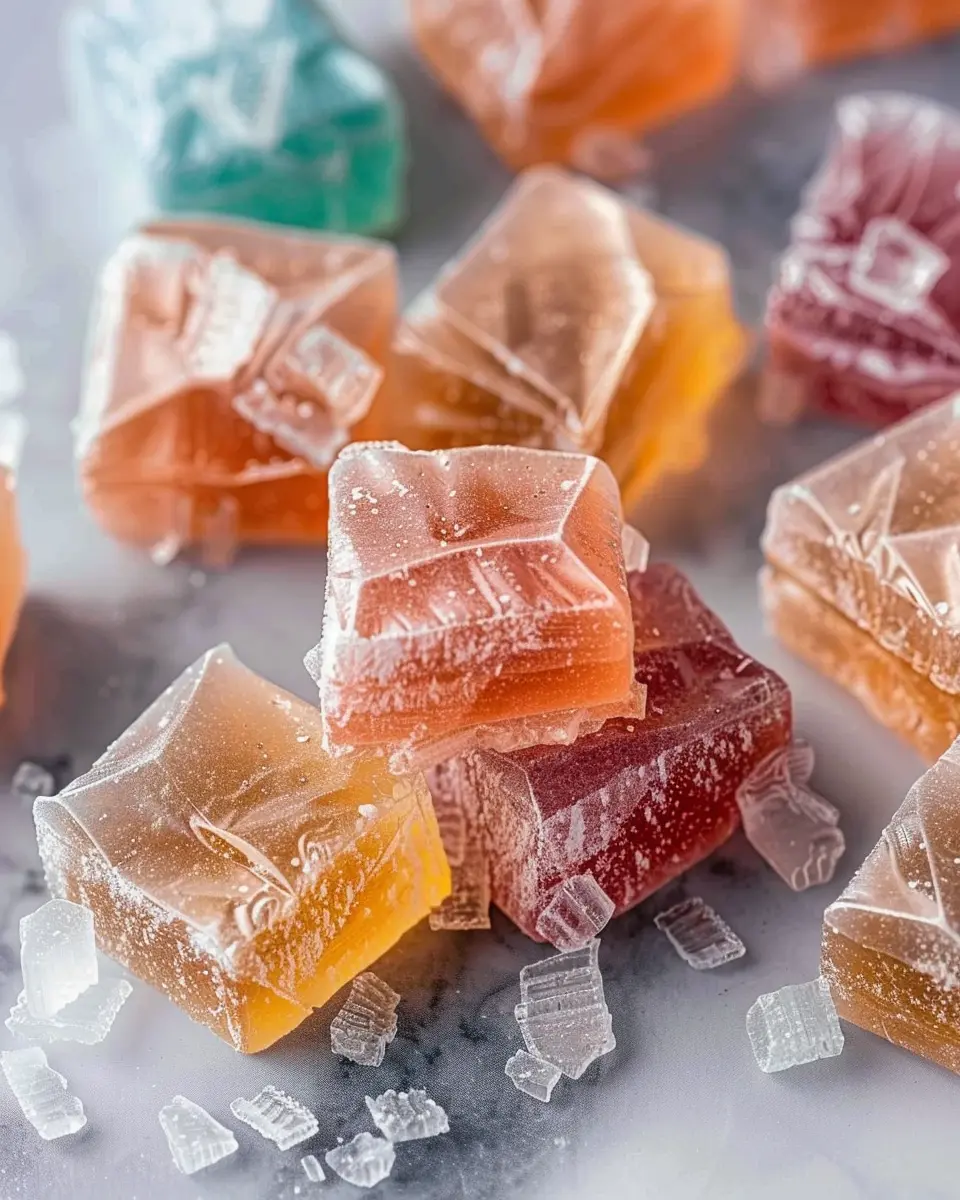
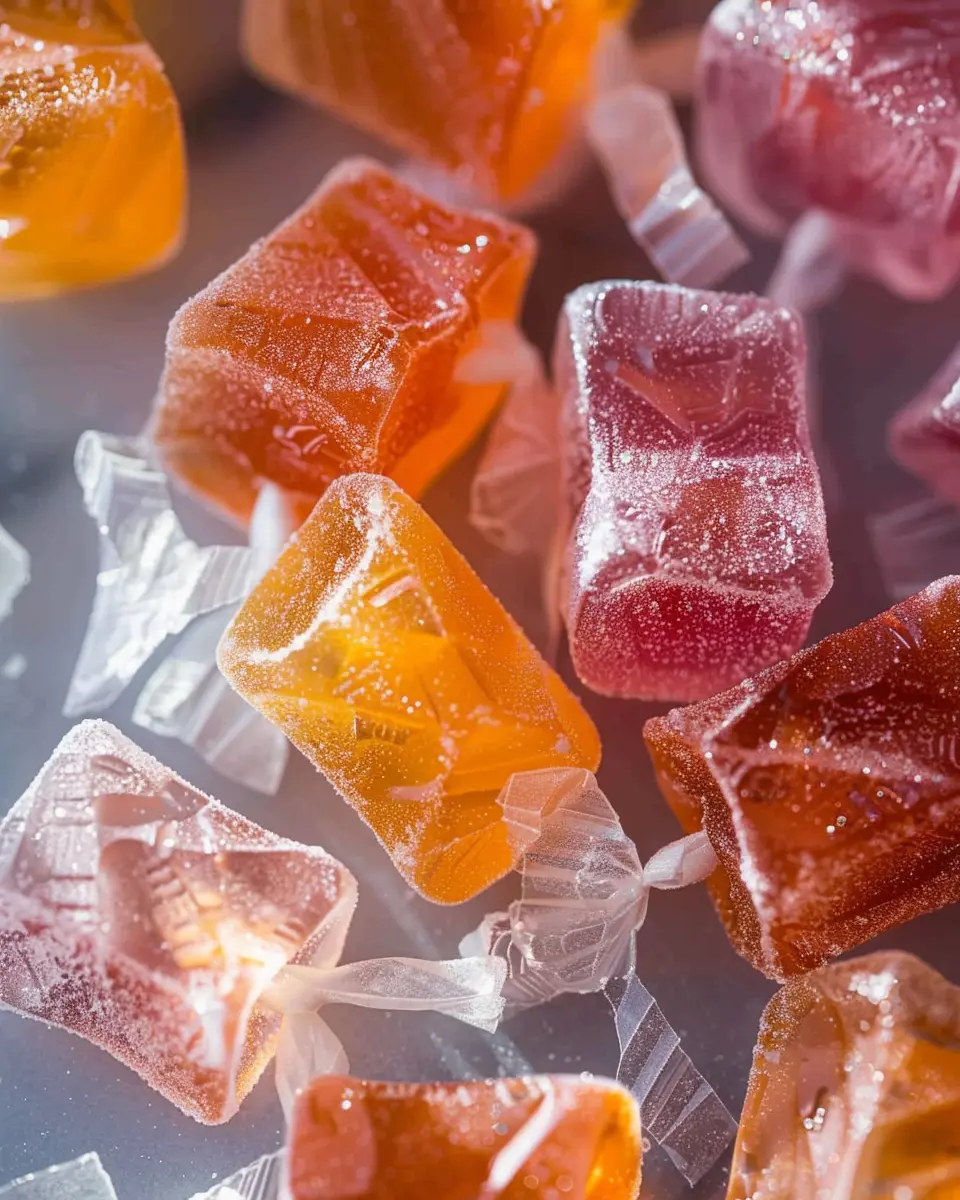
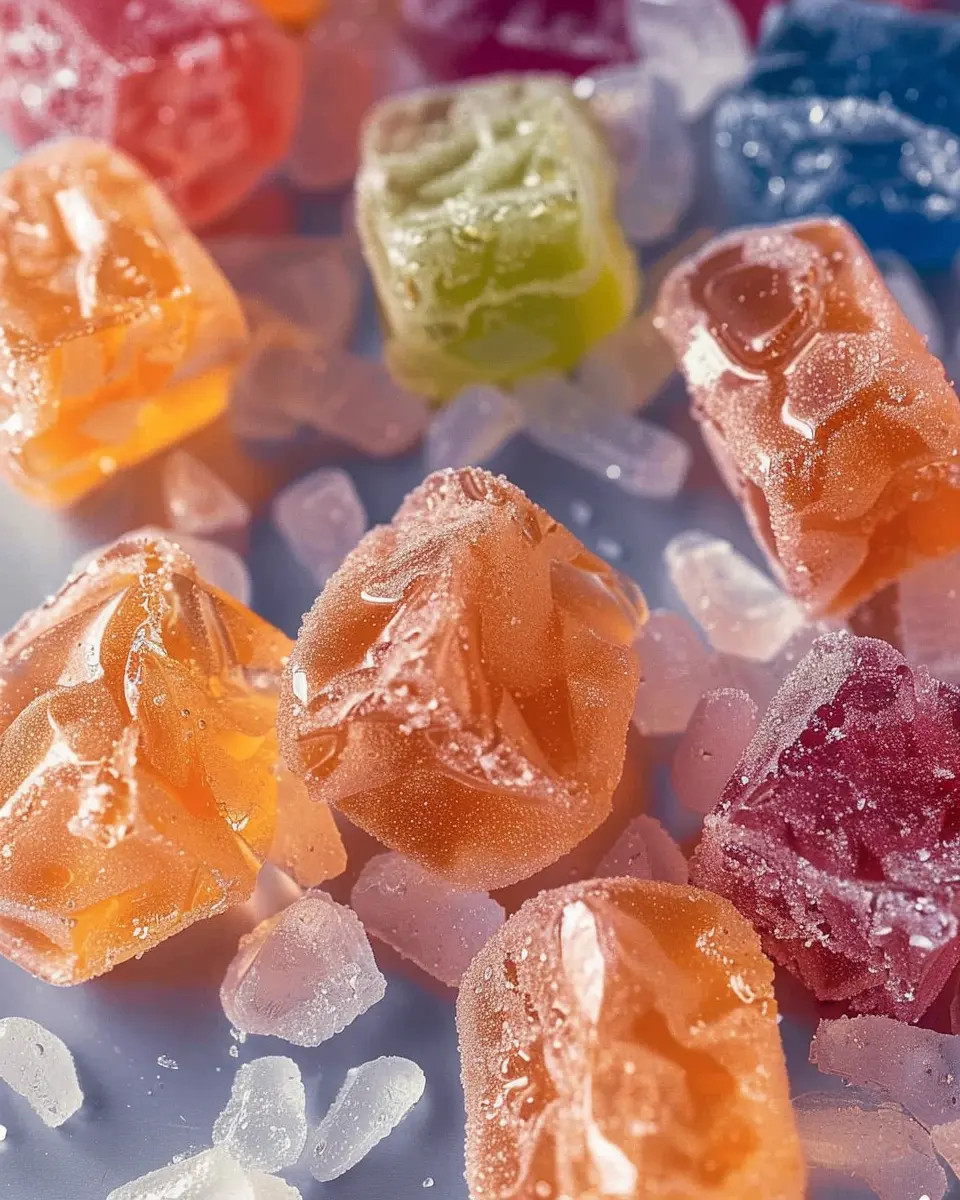
Variations on Homemade Hard Candy
When it comes to your homemade hard candy recipe, the fun doesn’t stop at just one flavor. Let’s explore some exciting variations that will elevate your candy-making skills and impress your friends and family.
Fruity flavors for summer fun
Nothing says summer quite like fresh fruit! Think about vibrant flavors such as:
- Strawberry Lemonade: Combine real fruit juice for sweetness and tartness.
- Mango Pineapple: A tropical blend that will make you feel like you’re on a beach getaway.
- Watermelon Mint: Refreshing and uniquely delightful, ideal for those hot days.
Experimenting with fruit extracts can also yield delicious results. For tips on how to utilize real fruit juice effectively, check out this guide on using fruit in candy making.
Spicy options for a kick
For those who enjoy a little heat, why not try adding some spice to the mix? Here are two ideas that can tantalize your taste buds:
- Cinnamon Fireballs: A nostalgic flavor that packs a punch! Just a touch of cinnamon oil can go a long way.
- Cayenne Chocolate: Combine chocolate flavoring with a hint of cayenne pepper for a surprising twist—sweet meets spicy.
Both options will add an adventurous edge to your homemade hard candy recipe.
Creative color combinations
Your hard candy can be just as visually appealing as it is tasty. Think:
- Layered candies: Pour different colored mixtures one on top of the other for a beautiful rainbow effect.
- Swirls: Mix two colors while pouring to create an eye-catching design.
Don’t hesitate to experiment with food coloring to make your candies pop! A well-themed color palette can turn simple candy into a showstopper at any gathering.
With these variations, your homemade hard candy will not only satisfy your sweet tooth but also create lasting memories. The best part? You can customize these ideas based on your preferences!
Cooking Tips and Notes for Homemade Hard Candy
Tools You’ll Need
To embark on your homemade hard candy recipe, you’ll want to ensure that you have a few essential tools handy for smooth sailing:
- Candy Thermometer: This is crucial for achieving the perfect temperature; aim for 300°F (hard crack stage).
- Saucepan: A heavy-bottom pan helps distribute heat evenly, preventing hot spots.
- Silicone Mat or Parchment Paper: Make cleanup easy and prevent sticking.
- Candy Stick Molds (optional): For a more decorative touch.
Common Pitfalls to Avoid
Making hard candy can be a delightful experience, but be wary of these common mistakes:
- Not Using a Thermometer: Eyeing the temperature can lead to a sticky mess; precision is key.
- Rushing the Cooling Process: Allow your candy to cool at room temperature for the best texture.
- Ignoring Safety Precautions: The sugar mixture can reach very high temperatures, so use care when handling.
Storing Tips for Longevity
Once you’ve mastered your homemade hard candy recipe, preserving its freshness is essential:
- Airtight Containers: Store your candy in an airtight container to prevent it from becoming sticky.
- Cool, Dark Place: Keep your candy away from sunlight and moisture for long-lasting enjoyment.
For further insights, check out this guide on candy-making for more tips and tricks!
Serving Suggestions for Homemade Hard Candy
Creating your own candy is a rewarding experience that allows you to unleash your creativity! Here are some delicious serving suggestions to enhance your homemade hard candy enjoyment.
Perfect pairings for homemade candy
Pair your homemade hard candy with a variety of flavors to elevate your tasting experience. Try serving them with:
- Fresh fruit slices, like apples or strawberries, to balance the sweetness.
- A selection of gourmet cheeses, creating a delightful contrast with savory notes.
- Herbal teas or refreshing iced herbal drinks for a soothing palate cleanse.
These combinations can turn a sweet treat into an enticing snack or dessert!
Creative ways to present candy for gifts
Packaging your candy beautifully can make it an unforgettable gift. Consider these fun ideas:
- Place candies in small glass jars, tied with a ribbon for a rustic touch.
- Use festive boxes or tins adorned with custom labels that reflect the occasion.
- Create a fun candy bouquet, arranging candies on sticks within a flower pot, perfect for celebrations.
For more tips on creative gift wrapping, check out Martha Stewart’s gift-wrapping strategies.
With these suggestions, you can enjoy your homemade hard candy recipe beyond just the candy itself! Happy candy-making!
Time Breakdown for Homemade Hard Candy
Preparation Time
Creating your own homemade hard candy starts with about 15 minutes of preparation. This includes gathering all your ingredients and equipment, such as a candy thermometer, a saucepan, and silicone molds. Take your time to ensure everything is in order, as this will make the cooking process smoother!
Cooking Time
The actual cooking will take roughly 20 to 30 minutes. You’ll be boiling the sugar and water mixture until it reaches the right temperature. Keep a close eye on the thermometer to avoid any mishaps.
Total Time
In total, you’re looking at approximately 45 minutes from start to finish. Once the candy cools and sets, you’ll be rewarded with a delicious treat that’s perfect for sharing—or keeping all to yourself. For more tips on cooking techniques, check out resources like Serious Eats. Happy candy-making!
Nutritional Facts for Homemade Hard Candy
Serving Size and Calories
When it comes to enjoying your homemade hard candy, it’s essential to be mindful of the serving size. Typically, a single piece of hard candy weighs about 10 grams and packs around 40 calories. Depending on how much you indulge, it’s easy to enjoy a few pieces here and there, but moderation is key if you’re keeping an eye on your daily caloric intake.
Breakdown of Sugar Content
One of the primary ingredients in your homemade hard candy recipe is sugar, which is naturally sweet but also high in calories. Each piece typically contains about 8-10 grams of sugar. This adds a delightful sweetness but should also be consumed thoughtfully. To learn more about sugar and its effects on health, check out resources from the American Heart Association. Certainly, enjoying sweets in moderation can be part of a balanced diet, so savor those homemade treats!
For further insights on sugar content and healthy alternatives, visit Healthline.
FAQs about Homemade Hard Candy
Making your own hard candy can be a fun and rewarding project! Here are some common questions you might have while diving into this sweet endeavor.
How do I prevent crystallization?
Crystallization can be a challenge when making candy. To achieve that perfect smooth texture, consider these tips:
- Use fresh ingredients: Make sure your sugar and corn syrup are fresh, as old products may increase crystallization.
- Avoid stirring once boiling: Once your mixture reaches boiling point, refrain from stirring. However, you can gently swirl the pot to mix.
- Add an acid: A small amount of lemon juice or cream of tartar can help inhibit crystallization. Just a teaspoon can go a long way!
- Watch the temperature: Use a candy thermometer to ensure you hit the right temperature, typically between 300°F to 310°F for hard candy.
What other flavors can I try?
The beauty of a homemade hard candy recipe is the endless flavor possibilities. Here are some creative ideas:
- Fruit flavors: Strawberry, cherry, or citrus are classic options. Use fruit extracts or concentrated juices.
- Herbal: Experiment with peppermint or lavender for a unique twist.
- Spiced: Try incorporating cinnamon or ginger for a warm, spicy kick.
Feel free to mix and match flavors to create your signature candies!
How should I store my homemade candy?
Proper storage ensures your hard candy stays fresh and delectable. Here are the best practices:
- Cool completely: Allow your candy to cool and harden completely before storage.
- Use an airtight container: Store your candies in a container lined with parchment paper to avoid sticking.
- Keep away from moisture: Store your candies in a cool, dry place to prevent moisture, which can lead to stickiness.
By following these tips, you’ll enjoy your homemade hard candy to the last piece! If you want to dive deeper into candy-making, check out resources like the National Confectioners Association for more insights and ideas.
Conclusion on Homemade Hard Candy
Embrace the Art of Candy-Making
Creating your own homemade hard candy is not just a delightful kitchen experiment; it’s a chance to connect with a rich tradition of candy-making. With a few simple ingredients, you can customize flavors and colors, ensuring that each batch is uniquely yours. Plus, it’s a fun way to learn about the science of candy, from boiling sugar to achieving that perfect crack.
Enjoy Homemade Treats with Friends and Family
Once you’ve mastered the homemade hard candy recipe, gather your friends and family for a candy tasting party. There’s something special about sharing the fruits of your labor, and nothing beats the satisfaction of watching loved ones enjoy your creations. So go ahead, unleash your inner candy maker—it’s a sweet experience that everyone will cherish! For further inspiration, check out The Science of Good Cooking from America’s Test Kitchen to deepen your understanding of candy-making methods.
PrintHomemade Hard Candy Recipe: The Best Sweet Treat for All Ages

Learn how to make delicious homemade hard candy that everyone will enjoy!
- Prep Time: 15 minutes
- Cook Time: 15 minutes
- Total Time: 30 minutes
- Yield: Approximately 20 servings 1x
- Category: Dessert
- Method: Boiling
- Cuisine: American
- Diet: Vegetarian
Ingredients
- 2 cups granulated sugar
- 1 cup corn syrup
- 1 cup water
- 1 teaspoon flavored extract (e.g., peppermint, vanilla)
- Food coloring (optional)
Instructions
- In a medium saucepan, combine sugar, corn syrup, and water.
- Cook over medium heat, stirring until the sugar dissolves.
- Bring the mixture to a boil without stirring until it reaches 300°F (hard crack stage).
- Remove from heat and stir in flavoring and food coloring.
- Pour the mixture into a greased baking sheet and let it cool.
- Once cooled, break into pieces and enjoy.
Notes
- Make sure to use a candy thermometer for accurate results.
- Experiment with different flavors and colors for variety.
Nutrition
- Serving Size: 1 piece
- Calories: 50
- Sugar: 13g
- Sodium: 0mg
- Fat: 0g
- Saturated Fat: 0g
- Unsaturated Fat: 0g
- Trans Fat: 0g
- Carbohydrates: 13g
- Fiber: 0g
- Protein: 0g
- Cholesterol: 0mg
Keywords: Homemade Hard Candy Recipe, candy recipe, sweet treats